Commission Process (start to finish!)
When someone has a special connection with a painting I’ve already made, it’s always an amazing moment.
I love hearing how certain colors and movements evoke feelings, many times beyond or in a totally different direction than what I had intended for the work. There’s some invisible thread that transcends the canvas and links itself to the viewer and that is a magical thing to be a part of.
But commissions.
I love working on commissions, because that package of reactions is nurtured from the first few strokes in my sketchbook. The whole process is an endeavor to capture that wispy thread and give it a home on the canvas. We’re building a moment from the ground up, together - and while no project is without a challenge, these are some of the most rewarding paintings I’ve made.
I’ve received a fair number of questions about the process behind creating a commission - so I thought I would share the process behind a recent project (my lovely client has signed off on this, I usually don’t share a lot of commissions due to the personal nature of the work).
Phase One: The Details
When I get an email or message about a possible commission I do a few things right away: First I check my timeline so I can provide an idea of scheduling. For the majority of the year I schedule my commissions in 1-2 month blocks. As most projects do not exceed 4 weeks of painting, having monthly available ‘slots’ allows me to keep track of scheduling and progress. Second, I’ll read through the inspirations listed, ideas discussed or colors mentioned in the message and build a reply referencing what I think we can do within those parameters. It’s important to note that the sketching and idea phase will be referenced in the final piece, but nothing will be 100% exact. My work is about process and movement, less about recreating exactness. Third step is for me to determine an approximate price based off of the information provided. Usually that takes a few more questions on my end, but we wrap up all the nitty gritty details right away so we can move straight into the fun parts.
Sometimes we’ll start by picking a size for the piece - this is informed by the wall size and the furniture already in place.
Phase Two: The Sketches
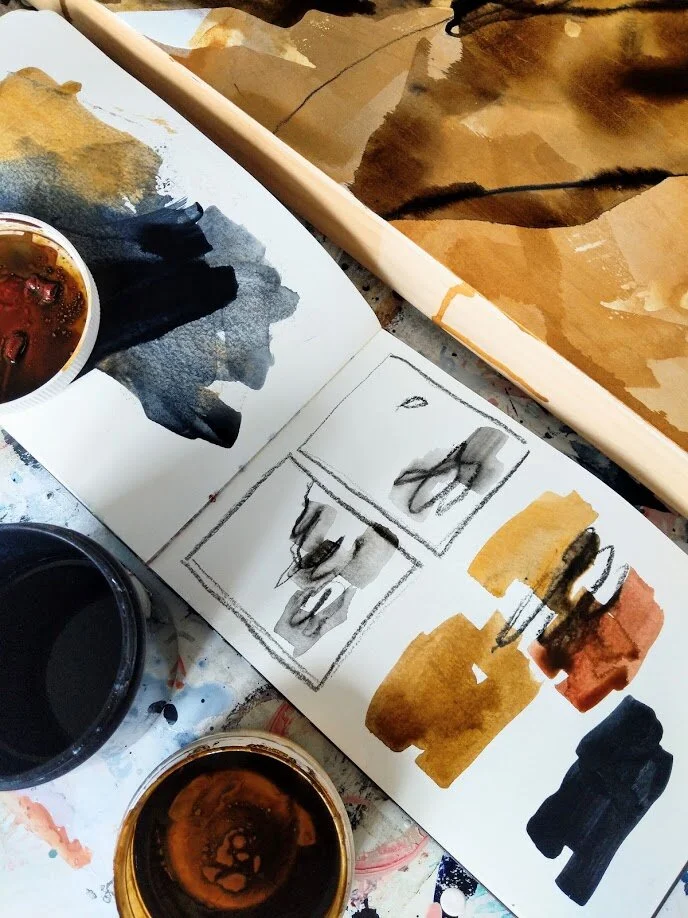
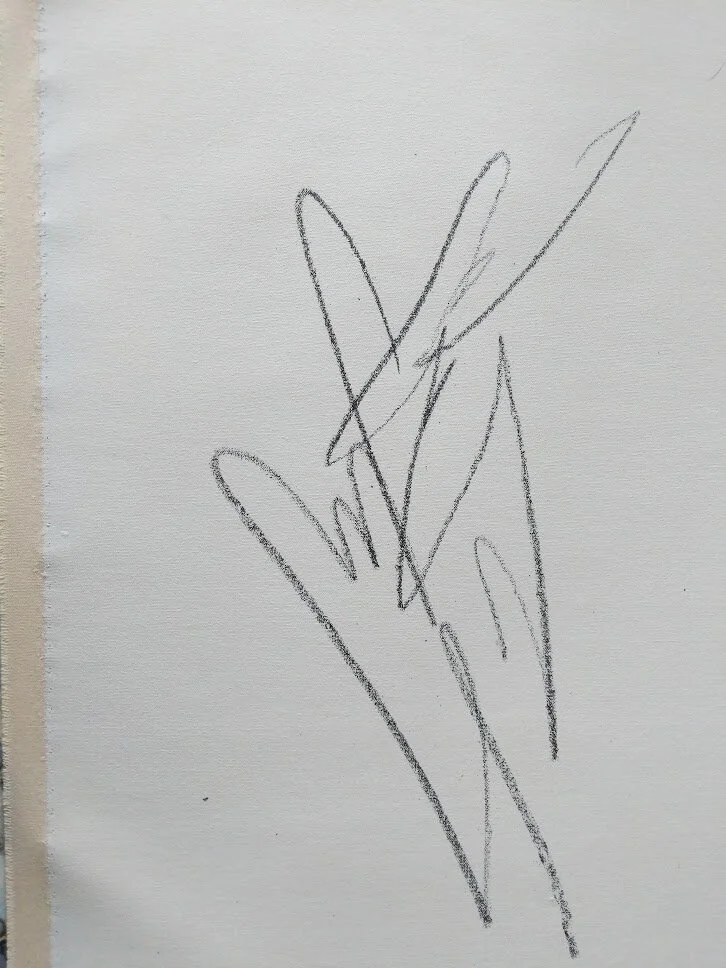
Once all the details are finalized, I move onto the sketch portion. This usually entails a few rounds of back and forth; some in black and white focusing on JUST movement, some color studies, some mark-making experiments. All of these are designed to narrow in on the things that stir the soul, that resound in the space the painting will live in and will give us an idea of what to carry into the final painting.
Phase Three: The Feedback
Arguably the most important phase. I’ll send images of the sketches, questions on ideas and general thoughts back for your comments and/or direction. If you’d like more warmth, we add more warmth. If there’s a brush stroke you’re loving - this gets noted and carried into the final paintings. During this phase we nail down all the things that draw you into the sketches and make sure they are a part of the cast when it comes to laying out the final work.
Phase Four: The Final
With a *relatively* clear direction in mind - we head into the final painting (or paintings). The time this portion takes depends on the size of the piece and I always send photos/videos of the progress so you can follow along. Once the painting is completed I allow a few days to fully dry, then it is coated or sprayed with a protectant to keep the painting vibrant and safe.*
From here, it is signed, sent for framing if necessary and shipped to it’s new home.
Are you interested in embarking on the journey with me? Fill out this form here and I’ll get back to you with Phase One!
Huge thanks to my lovely customers in Tallahassee for sharing the process behind their now THIRD commissioned project!
*The type of spray or varnish depends on the surface and materials used.
Giftcards are here!
I’m happy to share that I’m now able to accept gift cards in the shop!
Available in any denomination and applicable to anything for purchase on my website (currently does not extend to classes or workshops- sorry!) gift cards are great if you’re looking to purchase work for someone else, or give the gift of art without deciding which painting.
Mid-Winter Color and Contour Studies
The snow has been melting (slowly!) and revealing just the most beautiful ochres and ruddy browns recently.
On our walks I’ve been trying to take photos when I can (or mentally capture the tones when I’m preoccupied) to bring back into the studio and explore.
I’m interested in layering these with the contour drawings I’ve been making from area landscape features and presenting a sort-of cross sectional exploration into these last weeks of winter.
I’m using acrylic and water-soluble graphite on roll canvas for most of these - but may switch to watercolor as I continue.
New Workshop! Creating a Daily Art Practice: Sketching with Graphite
On February 12th I’ll be presenting a workshop at Literati (in partnership with the Ann Arbor Art Center) here in Ann Arbor on how using water-soluble graphite can help develop a daily process.
Together we’ll work on a few of the exercises I use and I’ll share some of the ways I work with the graphite.
Materials are included ( a handmade sketchbook and your own stick of graphite!) in the ticket price.
I’d love to see you there!
On Art and Writing (and how I know to re-write my artist statement)
I’ve never been able to carry small bags. I’ve always looked longingly at small clutches and petite crossbody bags, but the reality is I just can’t ever use them - I carry too many books.
I’ve mentioned that I always have multiple sketchbooks on my person (here’s a list of other posts with some of them) but in addition to those, I also always carry a dedicated notebook/journal.
Which is why those cute little bags will never be a possibility for me; my bag destiny lies in big totes and backpacks.
I’ve always kept a journal of some sorts. When I was younger these journals focused on the day to day, when I traveled I would document where we would go and what we would do, and when I painted - I’d write about painting.
When it started;
I began the writing about my art part a long time ago when I was frustrated with everything that I was making. I couldn’t describe to anyone else why I wasn’t happy with my work, so I tried taking a few pages to tell myself why I wasn’t happy with my work. It ended up taking a few more pages than that, but I was able to see where I was going wrong and where I wanted my work to go - and why it wasn’t there yet.
It was a bit of a ‘eureka’ moment for me, and I’ve continued to make this a layer in my art process ever since.
Why I Still do it;
If I’m starting a painting with a nebulous idea, before I start sketching I’ll take a few minutes to write about that idea. It doesn’t have to be complete sentences or make sense to anyone other than me. Sometimes it’s just words, or jumbled thoughts, but I always find myself going back and underlining certain words, maybe crossing others out, and through that process I end up distilling the idea into something a little bit more concrete. Then I move to my sketchbook.
It’s also helpful for me if I don’t have any ideas but am itching to paint. Rather than just start throwing paint around and potentially wasting materials (though, I do this sometimes too…) I’ll sit and record some streams of consciousness. I may not think I have any ideas to paint from, but usually through a bit of writing to myself something will bubble up to the surface and I’ve got a place to start.
Another reason I keep up this practice is for my customers. Buying an original piece of artwork usually stems from a connection to the piece. Be it the color, movement, title sometimes - there is something that wiggles it’s way into the heart of the buyer and stays. When someone is interested in a piece and is looking to know more I can flip back through the pages of my book and provide additional indepth details about the painting’s inception.
Titles! This is often how I narrow down the title of a painting. Words will pop up as I work and I write them down here, giving me a list to choose from.
However, the most important reason for me to write about what I paint is my Artist Statement. Re-reading what I’ve written can greatly inform the status of my statement and in the past has even written it for me. I use these pages to check in and make sure my statement is correct and that it is the place I’m actively working from, as well as a marker for noting if my work is moving away from that. If there are words that come up regularly, that I feel like speak to the nature of my work I’ll factor those in and build the statement around these tidbits. As an artist who formerly hated the whole statement writing/revising process, this has made that process painless and definitely more truthful.
What I write with: *Note; some of these links are affiliate links
My current notebook is a Shinola book. I’ve used Pentalic books, random blanks, anything and everything.
My pens; I love the Pilot Plumix collection. I use all three of the nib sizes and I adore the lines and letters I can make.
Currently I use only blue ink. I think it’s ingrained from childhood - I loved looking through my dad’s notebooks and and he also tends to use blue.
What about you? Does writing factor into your art process at all?


