DIY wedge tool!
One of my favorite tools to work with is the rubber wedge. These come in all sorts of shapes and sizes and from a myriad of different brands (for some of my favorites head over to my Amazon page!) but sometimes the mark I need to make is so specific, that I have to form my own.
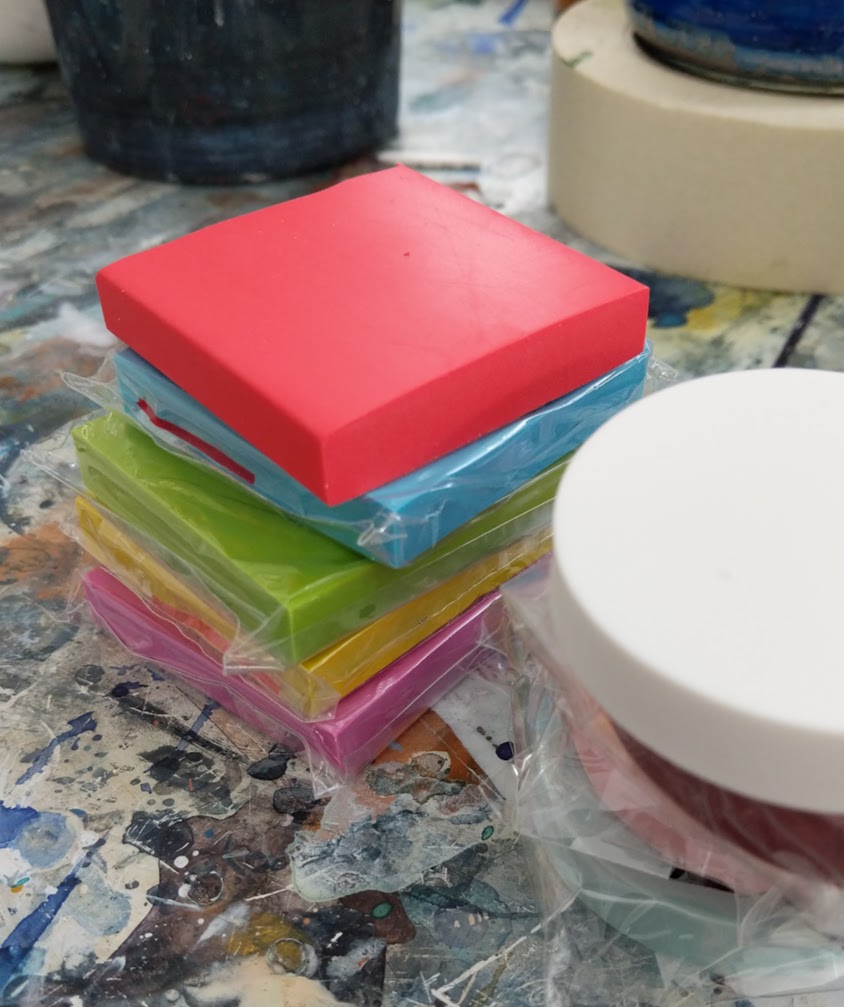
For this I bought a pack of stamp backs, put a new blade in my exacto knife and got to carving.
Follow along below to make your own!
Materials;
Rubber carving blocks. (I used these)
Exacto knife, or carving tools.
Cutting mat to protect your table (I use old magazines)
Pen
Step 1: Plan your stamps.
Make a few sketches of the marks you want to make with your wedge to determine where your cuts need to be. Or don’t - and just start cutting, sometimes not knowing what a tool will do produces some really cool marks.
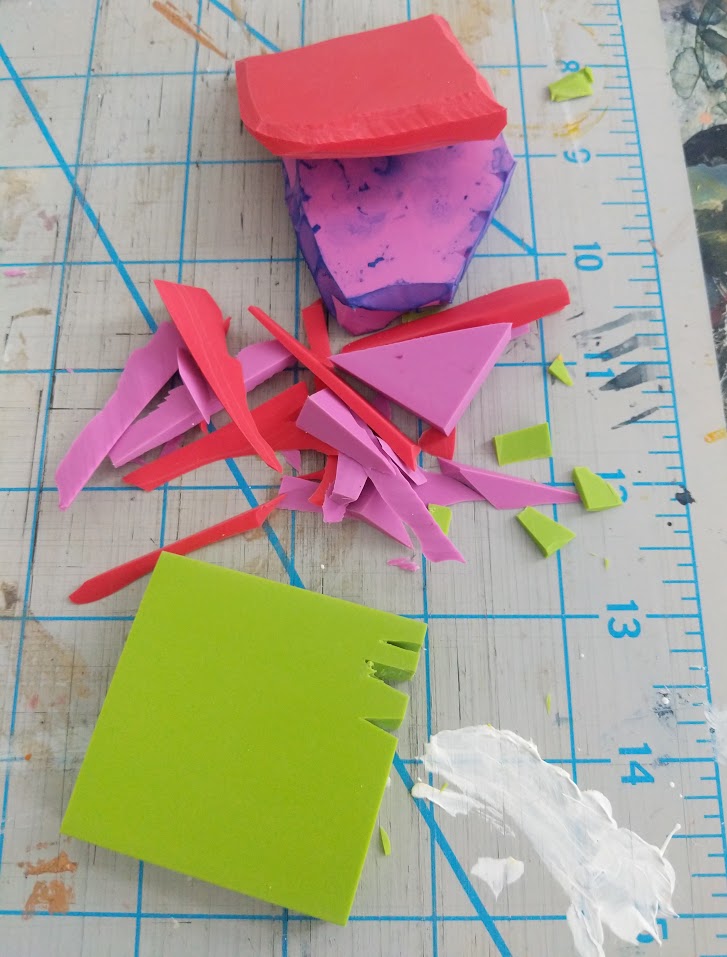
Step 2: Cut!
Start cutting into the rubber. As you can see, I am not a master of clean, careful cuts. Thankfully rubber is forgiving. You can decide at this point if you want to keep each wedge it’s own mark, or combine different types of marks on one wedge. I did a bit both, making a wedge where all four sides produced a different effect, and making a few that were dedicated to particular pattern.
Step 3: Test your new wedges!
Try them out with a few consistencies of paints, thicker paints will act very different than thinner and will give you relatively varied marks.
If you make some I’d totally love to see what you come up with! Leave me a message here or get in touch via Instagram.
<3 <3
Testing out Viviva Colorsheets
(( This is not a sponsored review, this is just me making a few color swatches and sharing the info <3 ))
I make a lot of work while on the go. Whether that’s an adventure abroad, or a coffee shop down the street I paint a fair amount outside the confines of my little studio and need small(ish) supplies to be able to do so.
And so, I am constantly on the look out for materials that will travel with me; tucked away inside a backpack or in a back pocket.
I had seen a few ads for these watercolor colorsheets from Viviva and found myself intrigued - but cautious. I’ve tried a few portable-themed watercolor paints that seemed great in theory, but didn’t really perform up to my standards, so I wasn’t overtly hopeful as I placed my order.
The colorsheets shipped from India and so took a little while to arrive (so keep that in mind if you order a pack for yourself!) but when they did I found myself getting more excited about trying these out. Slightly larger than a business card, these could bypass my backpack storage and go straight to my pencil case. That was an interesting thought.
How pretty is this rectangle of Viridian?
On trying them out, I was surprised. I expected patchy color, or a LOT of water application to loosen the pigments. Not the case. The brush glided across the surface and picked up SO. MUCH. PAINT.
In between each sheet is a page of wax paper, this is to keep the wet colors from sticking together (though it is recommended to allow each to dry before closing the book) and really enjoyed flipping through the pages. Some of the colors are so different from how they appear on the brush due to their concentration, it’s a bit magical to watch.
I made my swatches, noting how often I had to refresh my water due to the potency of the pigment. Definitely not what I was expecting.
I don’t know how long they will last, though I will continue to use these sheets and update here when I run out of a color. I also don’t know much about the archivability of the pigment, I wonder if a bit of added of water might make them run off the paper once painted? But for a small set to sketch with, these work really well. And the fact I can keep them in my pencil case and not even need an additional bag - even better!
What do you think of these? If you try them out I’d love to know how they work for you!
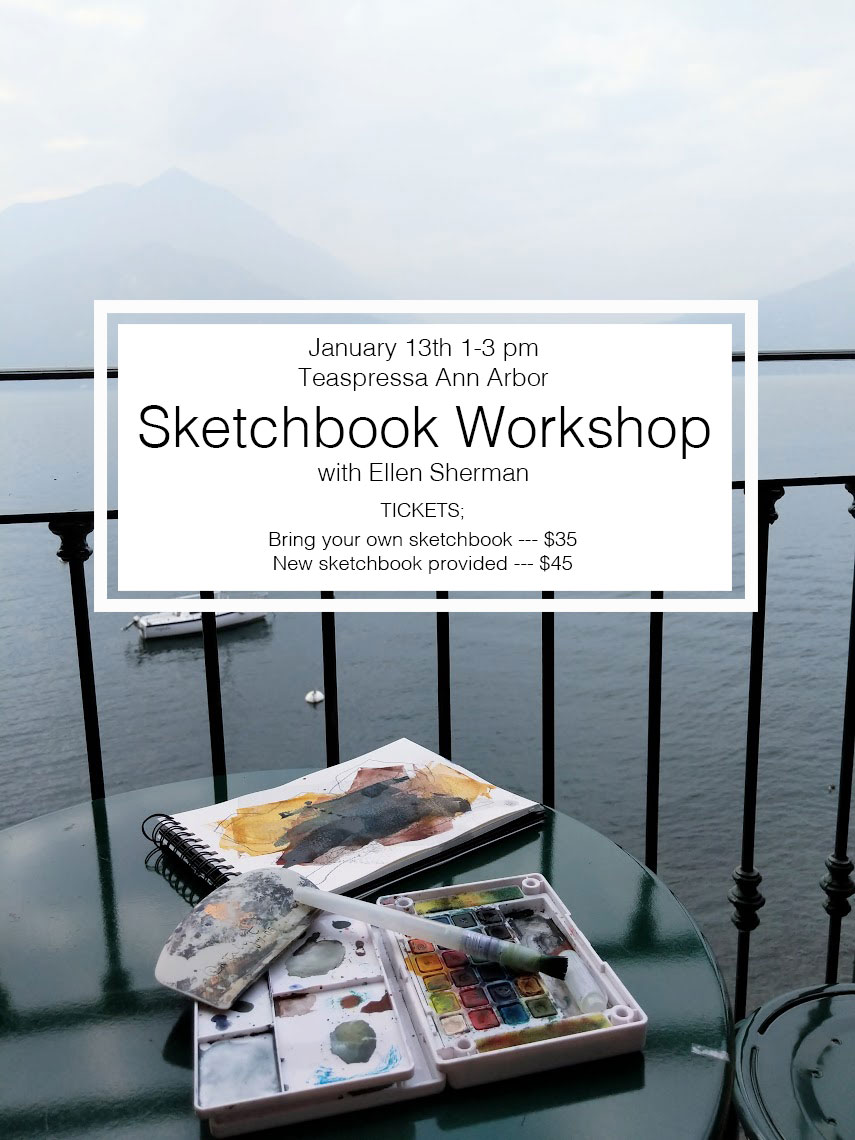
Sketchbook Workshop at Teaspressa (1/13/19)
That first blank page can be an absolute doozy.
It sits there, beautiful in it’s emptiness, complete as a book dedicated to the texture of the fibers, the tone of the paper.
And we intend to mess it up, to mar those beautiful pages with our marks and thoughts. This is one of the hurdles just high enough that it can keep artists and non-artists alike from truly committing to a sketchbook practice and from developing a discipline to connect regularly with our creative selves.
I’ve been there and it is incredibly uncomfortable.
Which is why I decided to put together this workshop!
Join me on January 13th at Teaspressa in Ann Arbor at 1pm for an afternoon of sketching, discussion, material exploration and of course, delicious tea beverages.
Who is this for?
Artists! Non-Artists! Anyone who wants to take a few hours out of your day to sit with a sketchbook, learn about my methods for sketching and engage in a few creative exercises designed to help you dig deeper into your sketching practice. Even if you’ve never held a pencil to a blank page before, but you are interested in exploring your creativity, there’s something for everyone on each step of their journey.
What is provided?
Materials that I use and love particularly for working small format and on the go. Feel free to bring your own supplies as well! The $45 ticket also includes a sketchbook if you’d like to start from scratch. We’ll be filling at least 4 pages in the books, so if you bring your own consider how many pages you have left.
Is this ONLY in person at the location?
For now, yes. I have plans for an online offering, but for now - this is only accessed by attending the workshop in person.
Head over to the RSVP page to sign up, I’d love to see you there!
Colors of Colorado (and Happy New Year!)
Happy New Year friends!
We decided to head out to Colorado to ring in the New Year, as we have friends who live in that beautiful state and I was hoping to spend some wintery moments outside, soaking in the mountain air and scenery.
With that in mind I packed a small bag of travel art supplies (enough to sketch with, but not much more) hoping to get some time to process the colors and rhythms of the mountains in my sketchbook.
There was so much blue and yellow, various shades and various and various hues. I took several little hikes when time allowed and tried to document what I could.
I made a few color studies while out in the wild which was the best start I could have envisioned for the first day of 2019.
Hope you all have a wonderful, warm and peaceful start to this new year. Much love to you all!
—Update—
Now that we’re back home, I can share the paintings made from those studies!
These are the first two that will be available during my month-long show at Miss Kim in Ann Arbor coming in March (more info to follow!) for purchase and on display. To purchase ahead of the show send me a message and I’ll get you more information.
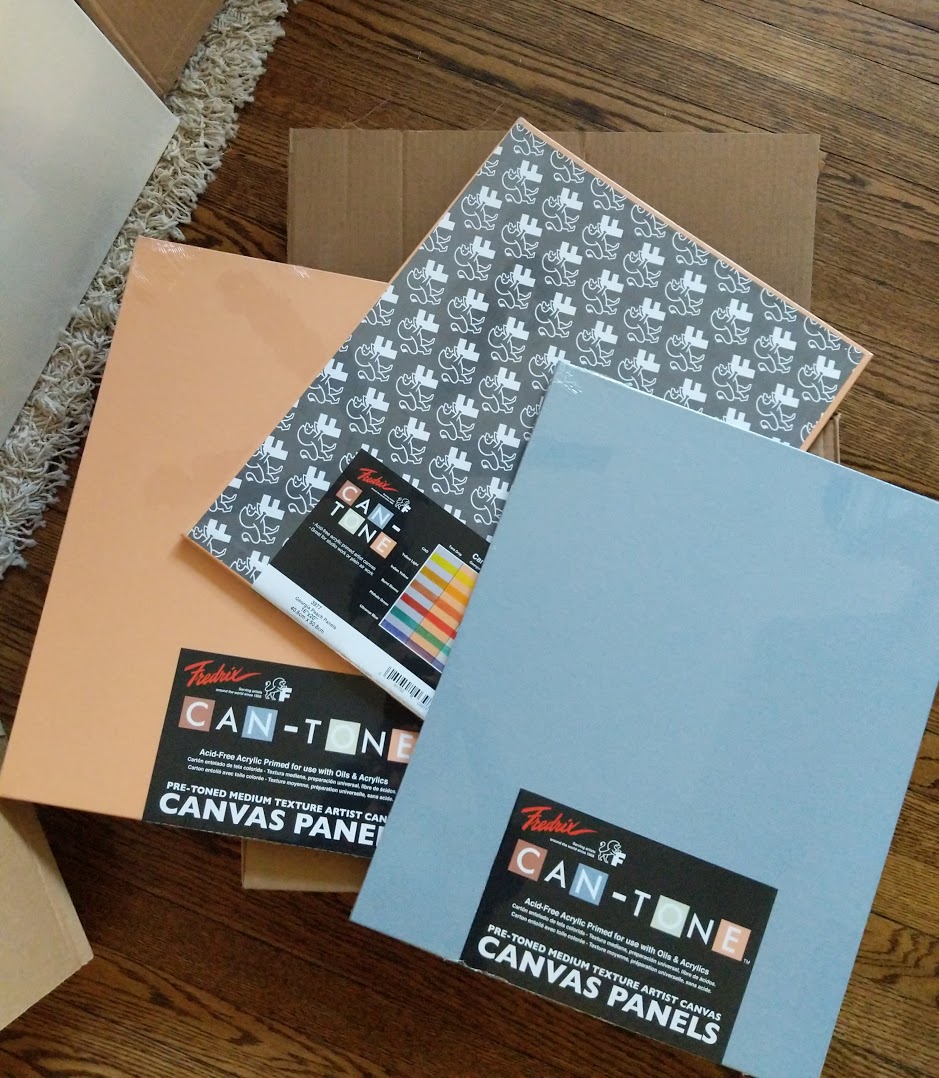
Acrylic Experiments on Fredrix Canvas Can-Tone Panels
In the years I’ve been sponsored by Fredrix Canvas I’ve been lucky enough to try out so many amazing surfaces to paint on. Their canvas has revolutionized my process and has given my paint life in a way that I simply haven’t found elsewhere. I’m grateful to be sponsored by them currently, but I also know that if there were to come a time when I’m no longer sponsored - I will always continue to buy their canvas. (Which is the reason I agreed in the first place, it’s seriously my favorite to work with.)
So recently I’ve been toning my own canvas in various shades, and have been super curious to try out these pre-toned canvas panels. I love the shade range, but was immediately drawn to Tara Gray and Georgia Peach first.
I started with a thinned acrylic titanium white, (for info on how I thin my paints check out this post) using a few different brushes to play with the spread of paint and the marks I could leave behind. After that had dried, I applied a layer of thinned indigo.
I love how the thinned paint dries on the panels - and how very different the paint looks from one to the other. I’ve got more layers planned for tomorrow once these are dry and I’m excited to see where they go!
Have you tried working on a toned surface before?
