Art Studio Renovation - Finished (for now)
I am SO. HAPPY. to be back in the studio.
It’s been weeks of projects scattered throughout our house, a few in our friend’s houses, and many sketching sessions at coffeeshops - but I’m finally back in my dedicated space.
I’m hoping to film a little walkthrough soon, but here are a few photos of the process until then.
Everything in my studio is now in the living room. Yikes.
The house is from the 1880s, so there’s LOTS of work that needs to be done. Window replacements are first priority - it’s cold!!!
New windows are in! Time to freshen up the paint. This eggshell warm white is not cutting it for me.
This is the new EVA foam flooring that will cover the studio. I work on the floor most of the time, so having a bit of extra padding as well as protection for the floor is something I’ve been hoping for. It’s like sitting on an extra thick yoga mat, makes a HUGE difference when working for hours down here! Much cheaper than leveling our INCREDIBLY slanted floors, it also gives my furniture on wheels a place to stick.
It’s late, but I’m happy as a clam. My soul is at ease when painting, doesn’t matter if it’s walls or canvas.
We had a little bump of a light up there, and I was hoping to find some directional light instead. I picked up this fixture at Home Depot and it’s perfect.
First look on the next morning! I LOVE how the cool white paint and white floors brightens up the room!
These are my grandmother’s ancient poinsettias. I inherited them when she passed away and they are my favorite studio friends <3
The final piece - the white board from my sister. I use this to keep track of projects, plan paintings, brainstorm for articles and just to keep track of all the things on my plate.
First night in the renovated studio. Here’s to many more!
Thanks so much for following this journey of mess-clean-bigger mess- finally organized! I’m thrilled to be back in my space and sitting much more comfortably <3
Giving Form to Idea with Blurb
((This is a sponsored post. But rest assured, I only work with companies that I really like and would absolutely recommend even if it wasn’t sponsored. Happy reading! ))
Have you ever had an idea that just circles in your periphery, pops up occasionally to say “hey! I’m still here! Work with me!” but you haven’t found the right way to give it form?
That was me for a few years with this one tiny, but exciting thought that I just couldn’t shake.
I was on a plane that was heading towards Santiago, Chile. The pale gray fog laid heavy over the Andes as we descended, burning into vapor in the sunlight and obscuring the land in the shadows.
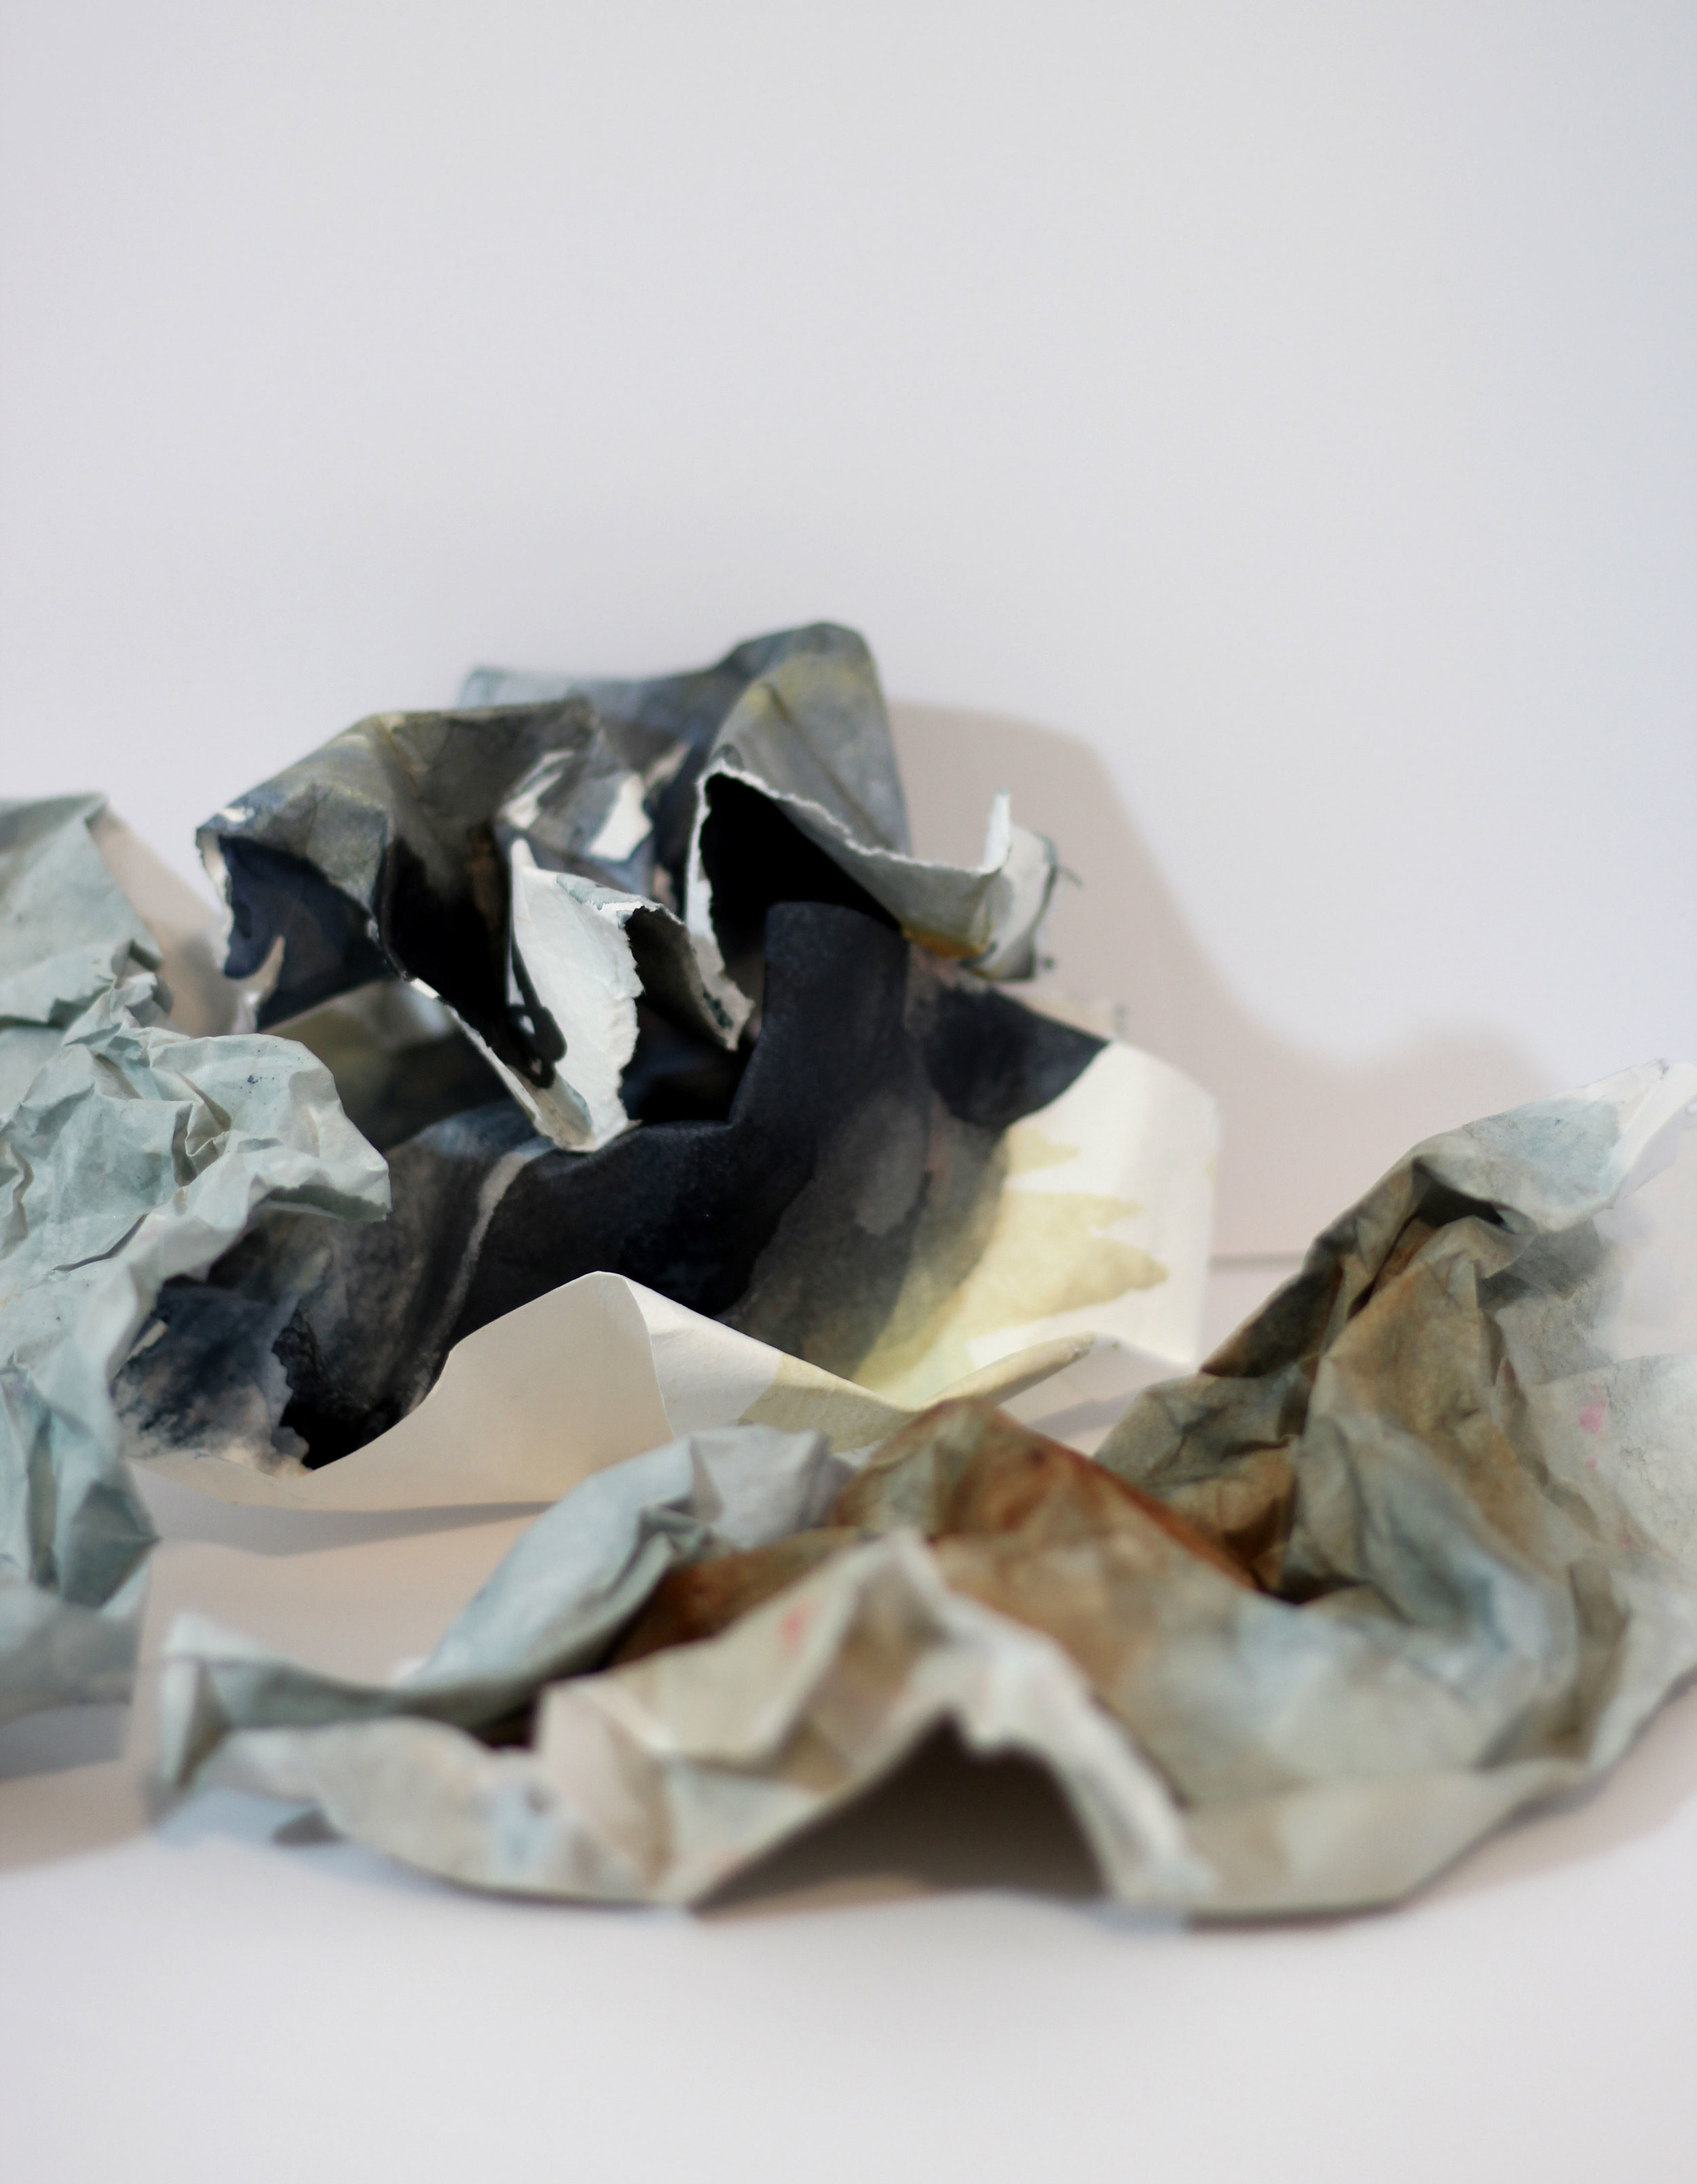
Undulating color and pattern stole my breath and I took a gratuitous amount of photos out of the teeny window. In addition to it’s raw, abstract beauty- I was struck by how much it looked like my desk, covered in balled up paintings.
That was 2015 and I’ve been collecting balled up paintings ever since.
It took me three more years of thinking about this moment, this spark that I found looking out the airplane window to finally find the form it needed.
I made a book!
I’ve worked with Blurb before on past book-making projects and I loved the process, so once it became apparent what this project needed to be - using Blurb for the creation was my go-to answer.
If you haven’t used Blurb yet, they are an independent book-making / self-publishing platform that makes it easy to design, produce, and sell all sorts of book and magazine projects (both print and digital!).
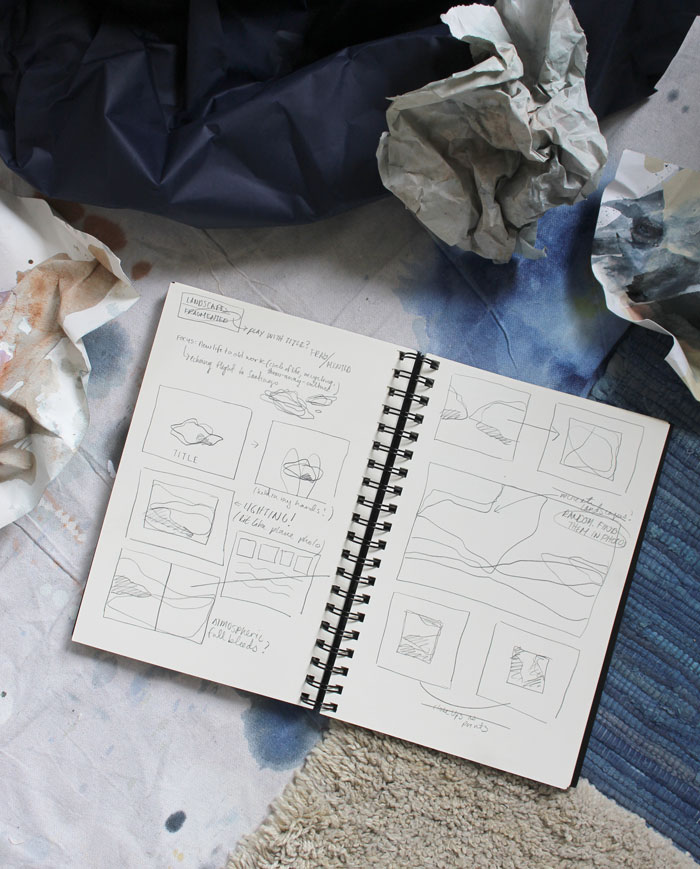
I started designing the book on paper (as I do with all things) making sure that my idea is fully explored and properly mapped out. I chose not to add words this time. I was speechless the whole time the plane flew above those mountains and I felt like adding words was untruthful to that moment I was seeking to honor. It would be picture book only.
Once I had a skeleton of the project together, I started photographing the paintings I had been saving for at this point, years, and started to think about the final layout. I picked a landscape (10 x 8) orientation and opted for a nice shiny softcover and premium matte pages.
One of the reasons I love Blurb is the number of tools I can use to access their platform and design my book. As someone who is very familiar with Photoshop and Lightroom, I really appreciate the ability to use these programs for exceptional creative control over the process. In this case however I used their service; BookWright to design the entirety of the project. It’s super straightforward and allowed me to think more about the content of the book while they handled the finer details of the creation.
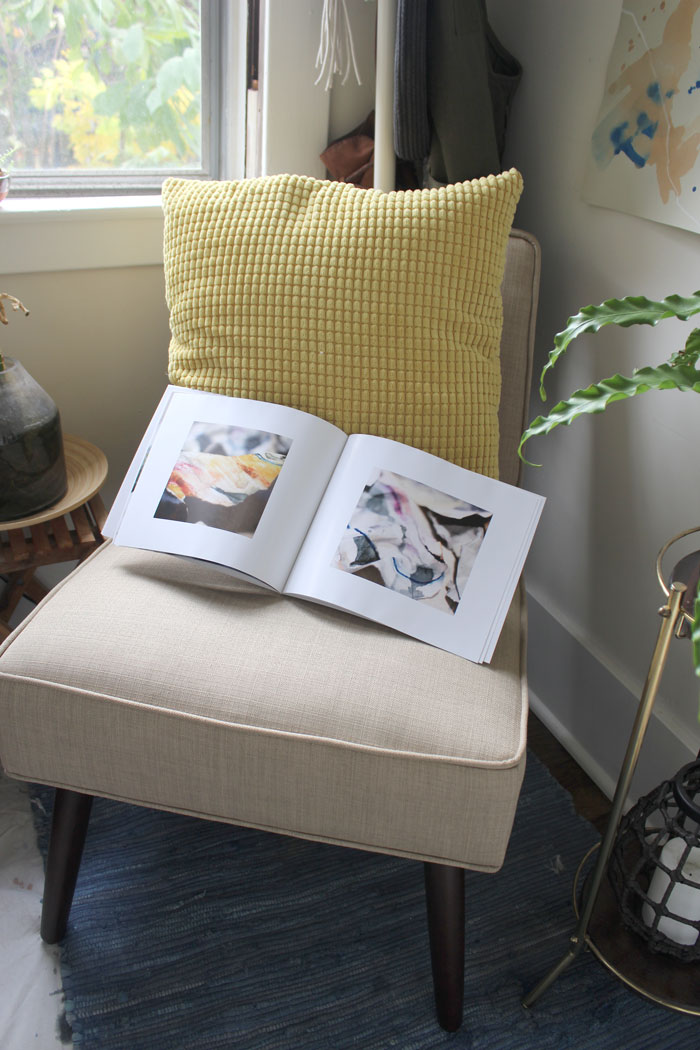
Just about a week later, the book was in my hands!
It was exactly what I was hoping it would be. The paper was rich and smooth, the book had a beautiful weight to it and my photos printed perfectly. I was elated, flipping through the velvety pages for the first time; each one reminding me of a landscape from memory.
Thanks to Blurb for getting the ball rolling on this, I’m so in love with the final product. It is a creative weight off my back, finally being able to set this idea free in the form that felt right.
If you want to check out the book pop on over to the book page where you can flip through mine and purchase your own copy too. Or stop by their Book Shop to see the rest of their catalogue!
What about you? Have you made a book of your work before? What’s your favorite part of the process?
Colors of Italy; Part II
We’ve spent the last few days in the Lake Como area, going back and forth between Varenna and Bellagio.
In many of the places we visit I go off on my own to find a little corner of inspiration, some color shift or movement in the water to focus on; some small moment of beauty.
Here however it’s literally everywhere and honestly, it’s a little overwhelming.
I only have so many pages left in my sketchbook.
We’ve taken a few hikes up the mountainsides and explored the lake and I’ve tried to sketch when I can, but every view seems to better than the last. I am completely inspired and yet paralyzed by the amount of things I want to sit and paint.
The buildings are so vibrant against the gray clouds, the shadows of the mountains breathe in and out of existence with each wave of rain and though we’re constantly wet (its the rainy season here) - it is easily one of the most beautiful places I’ve been.
In the end I didn’t end up making as many sketches as I hoped, but spent more time outside processing with my eyes and camera instead. Of the sketches I was able to make - I can’t wait to get home and translate them to canvas.
Huge thanks to my sister-in-law for suggesting this place, it was magic for me.
Colors of Italy; Part I
I know, I know.
Not a travel blog.
But so much of my process is rooted in the colors of my surroundings, in the different shades of water and sky that to provide an accurate idea of the inspiration behind my work it’s helpful to share these moments away from the studio.
Plus it’s just really, really pretty here.
We flew into Italy earlier this week and I have been absolutely entranced with the light. Everything is yellow. I joked with my husband that I finally understood the naming behind “Naples Yellow” and am so grateful I didn’t cherry pick my paints for this trip. I’m going to need them all.
We have a few days here in Rome to explore and we’ll do all the regular tourist attractions (though if you have a suggestion of something else please let me know!) before moving northward.
As this is again, not a travel blog I won’t bore you with photos of food and old stonework and get right into the sketching.
On our second day en route to a brewery I found a square sketchbook and it makes my heart happy. I also bought a few paint pens, though I’m not sure what use I’ll have for them yet.
And now to the good stuff.
My internal clock is still all sorts of discombobulated, so I’m napping late and waking up at odd hours. With a bit of extra time because of this weird schedule, I was able to finish a few sketches and get a couple of layers down on canvas before heading out.
These siennas are a response to walking the grounds of the Coliseum and Palantine Hill, just incredible ruins of ancient Roman society. It was breath-taking.
We’re headed northward in a few days, up to Verona and Lake Como by train - and I’m hoping to get some sketching done on the long train rides up.
(Or naps.)
An Afternoon with Contours - at the MSU Broad Art Lab
On October 13th I had the honor of leading a workshop at the MSU Broad Art Lab.
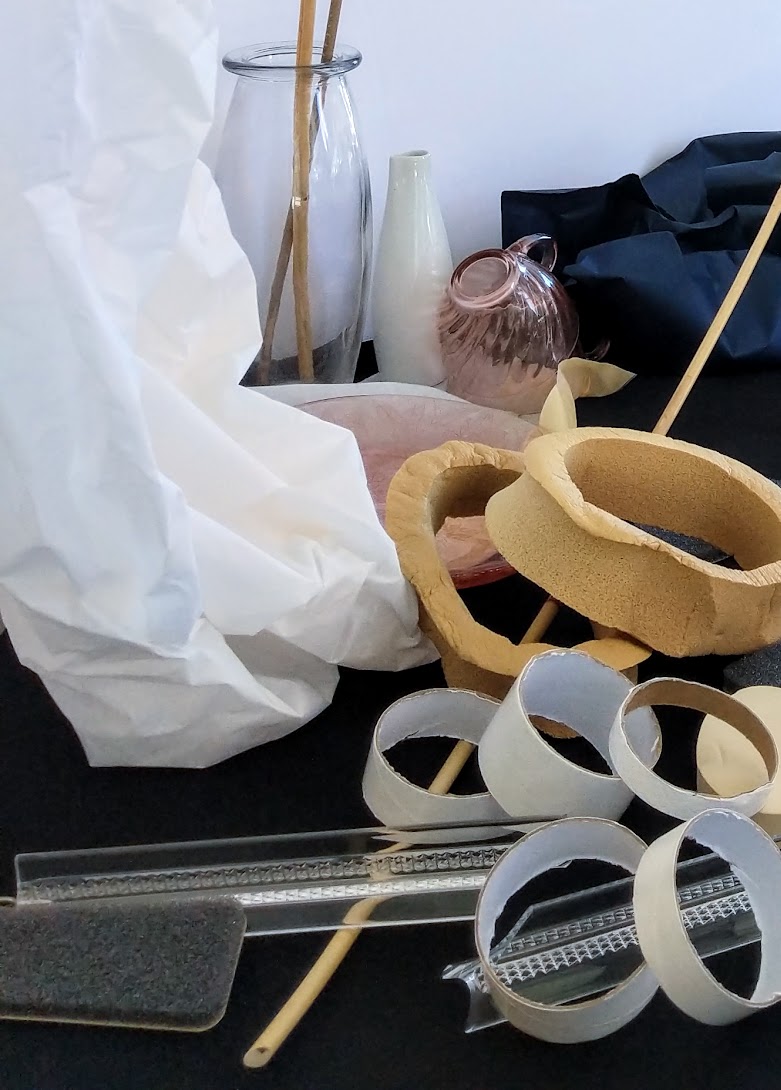
The class was an intro to using contour lines as the basis for an abstract painting, using still life setups as the starting point. (Materials found at The Scrap Box! Read about re-visiting my childhood paradise here!)
It was also an especially meaningful class to teach, as I am a graduate of the MSU Fine Art program. It was just a ‘few’ years ago that I was a student and was a major honor to be invited to back in an instructor role! <3
Our group began by surveying the 3 setups, finding moments in the chaos that interested and intrigued us - and then began to sketch. For the sketches we used water soluble graphite*, so that we could work back into our sketches later as we expand and explore.
Once we had gathered a collection of contour sketches to pull from, we moved into the front area and began to paint. Watching and helping the attendees respond to the sketches with color was an absolute joy.
The workshop was so much fun and I really enjoyed getting to work one-on-one with so many people and watch their paintings come to life. Huge thanks to MSU Broad Art Lab for setting it up!
I’m hoping to offer another class like this soon, but if you have any suggestions on what you would like to see from me feel free to message me or leave a comment.
<3
* Link contains an affiliate code. If you purchase the product from my Amazon shop they send a little money my way! No cost difference to you, just helps support my work and keep me able to find new materials for you to try <3
